


For the last year a Byrd Shelix cutter head rested on a shelf waiting to be installed into my restored Powermatic PM50 jointer. This head is the real deal. As I thought about installing it during the year I started to become intimidated by it. It is a piece of precision art.
Today was the day to perform the transplant. All said and done it took about an hour to do. The sound of the new head is much quieter than the old head. And the sound it makes while cutting can be likened to a mosquito flying near your ear, and very soft. And I got it in without cutting myself on it. I will now annotate some pictures of the process.
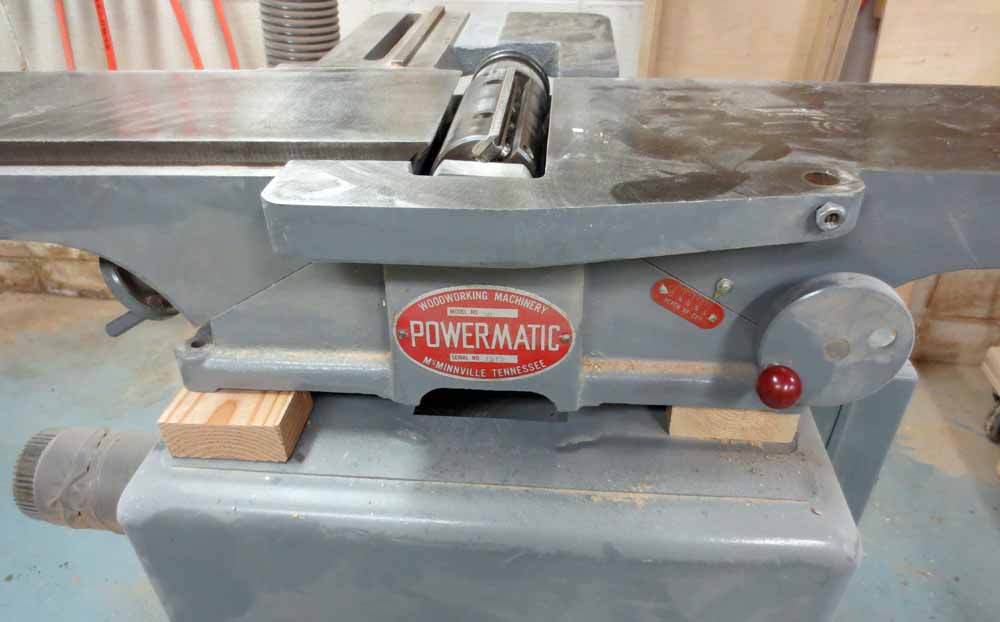
First I loosened the lock nut on the cutter head guard locking screw.
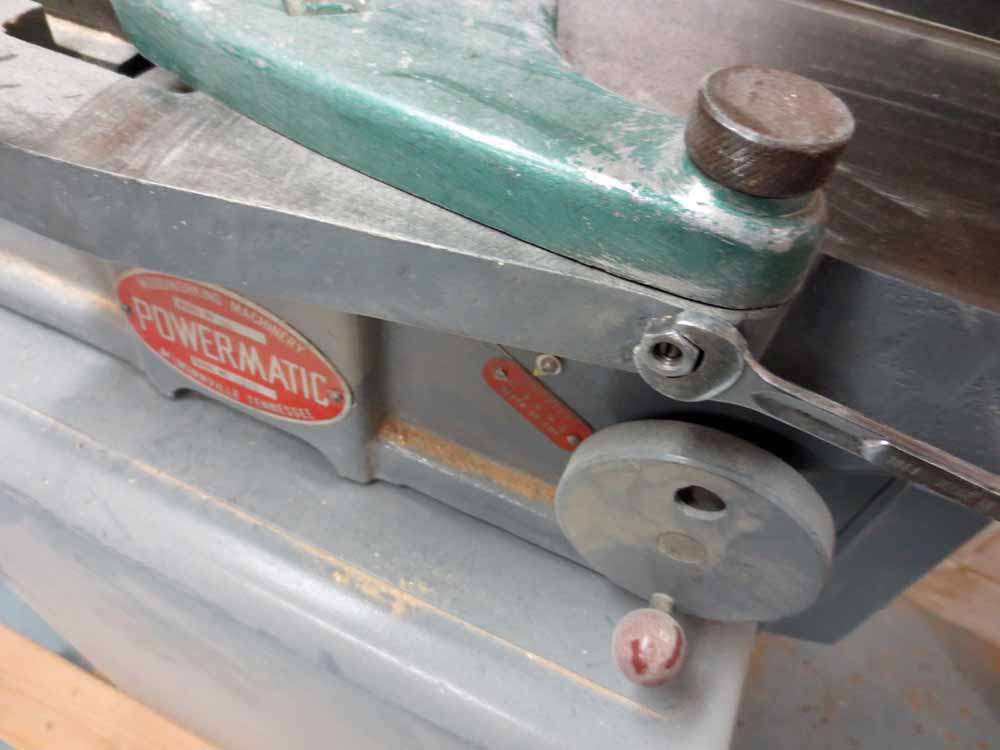
Then I loosened the lock screw.
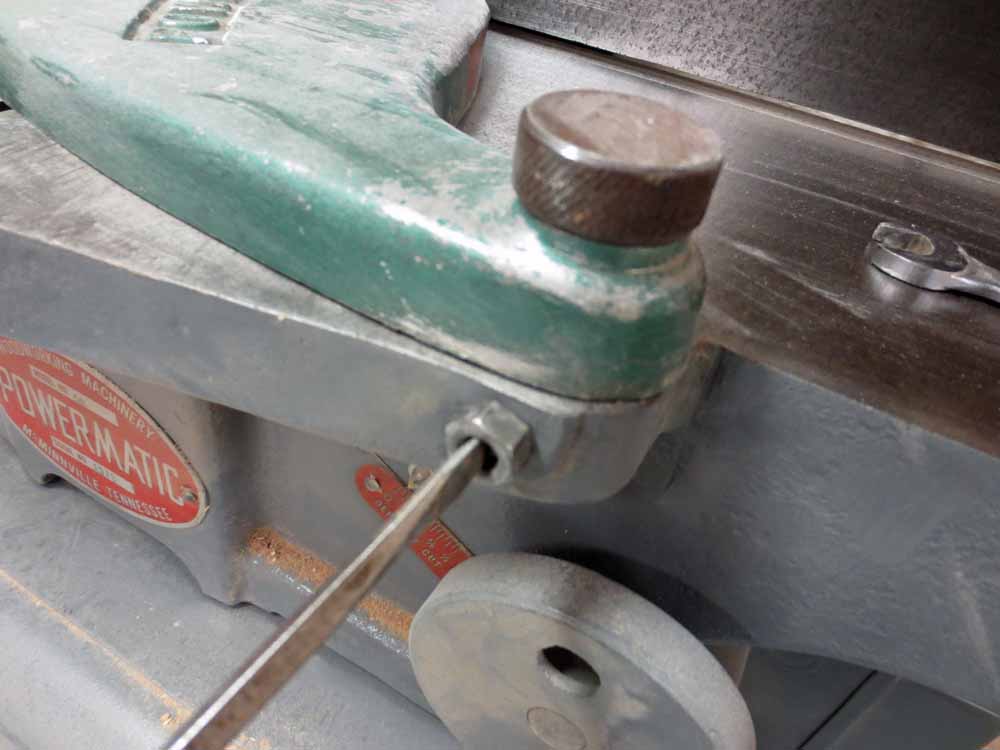
The cutter head guard is now removed to expose the cutter head.
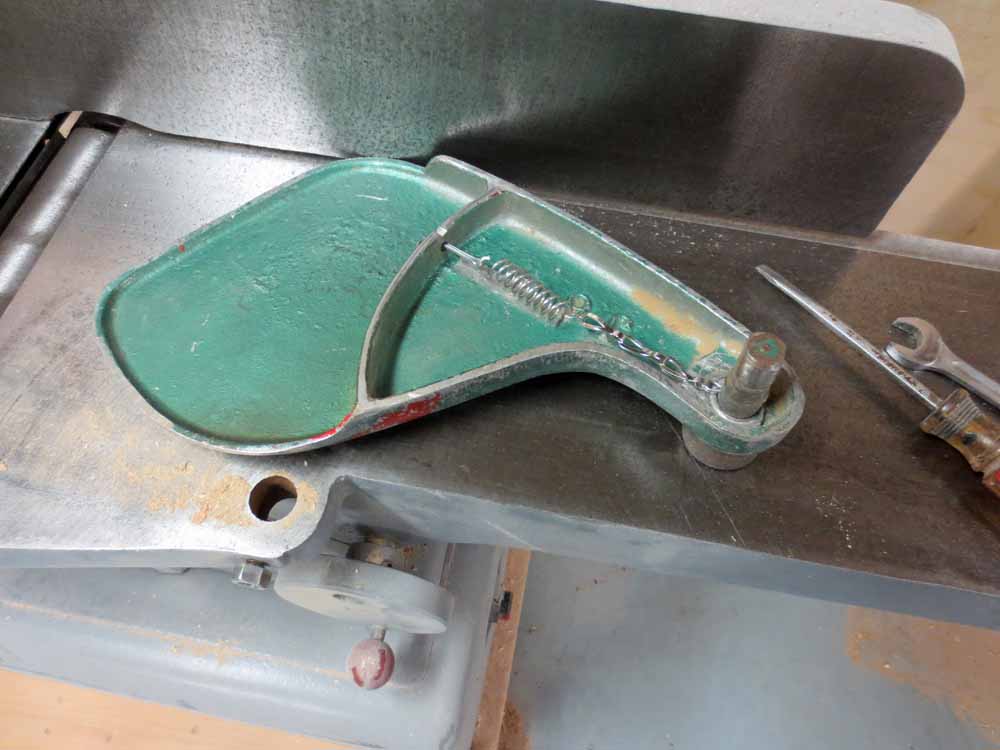
The fence assembly is removed next.
The drive belt is loosened and taken off the cutter head pulley in preparation of separating the jointer from its stand. The bolts holding the jointer to the stand are removed. This is fun because one of the bolts is located in a very hard to reach location. Blocks are then inserted to raise the jointer enough to loosen the bolts holding the cutter head bearing blocks.
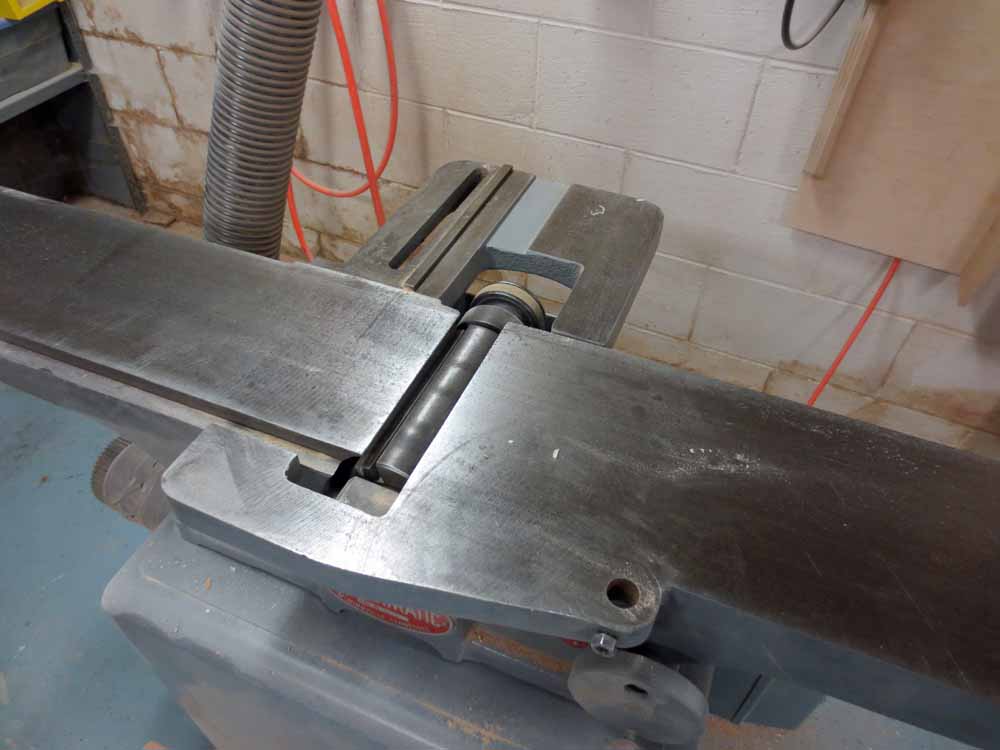
The front table is lowered to make room for removal of the cutter head.
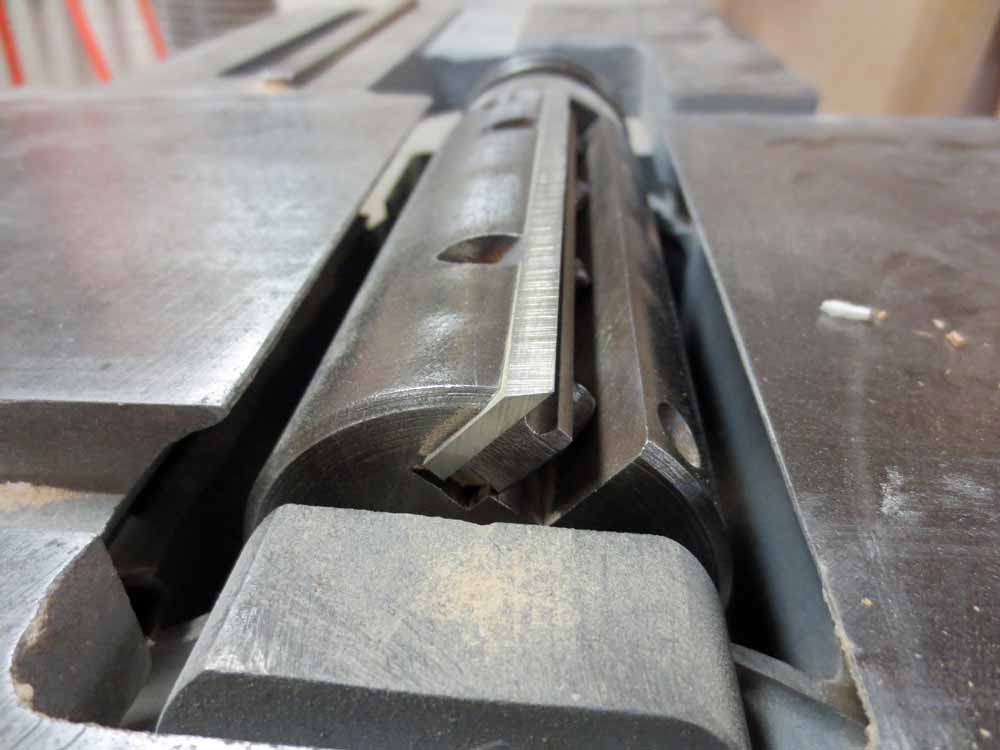
The rear table is lowered for the same reason. The bolts holding the bearing blocks are removed and the cutter head is very carefully lifted out of the casting.
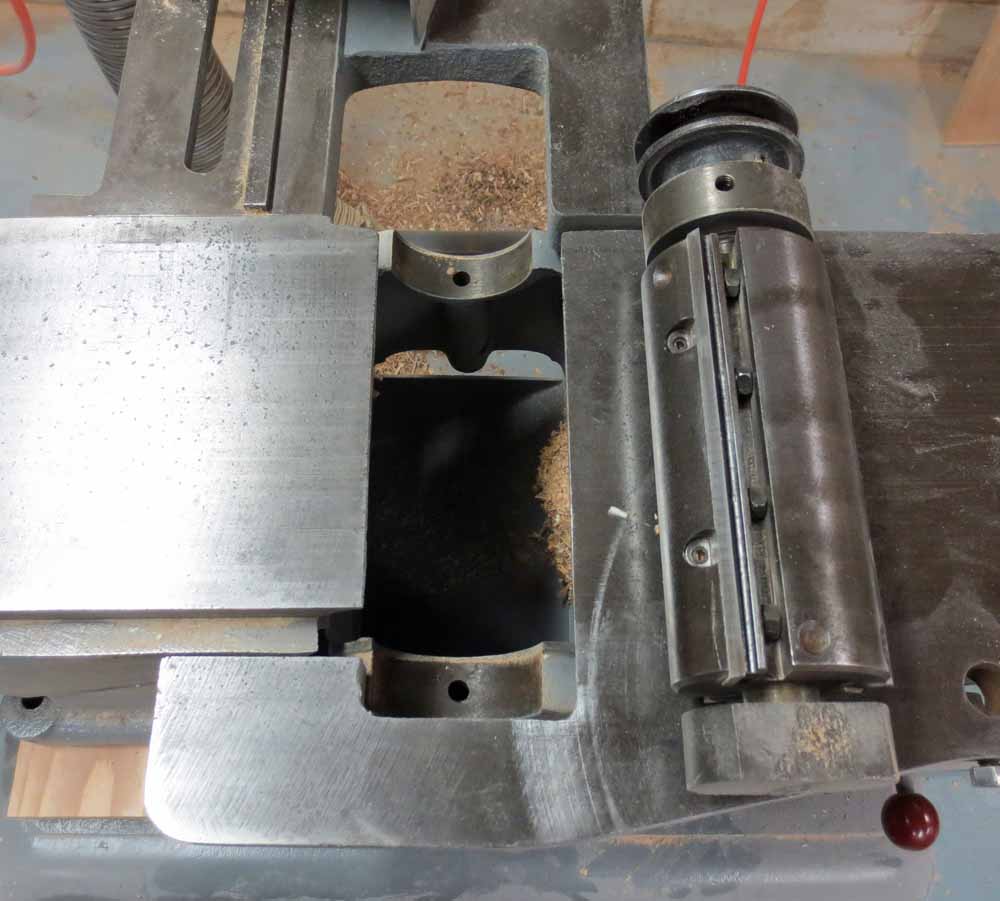
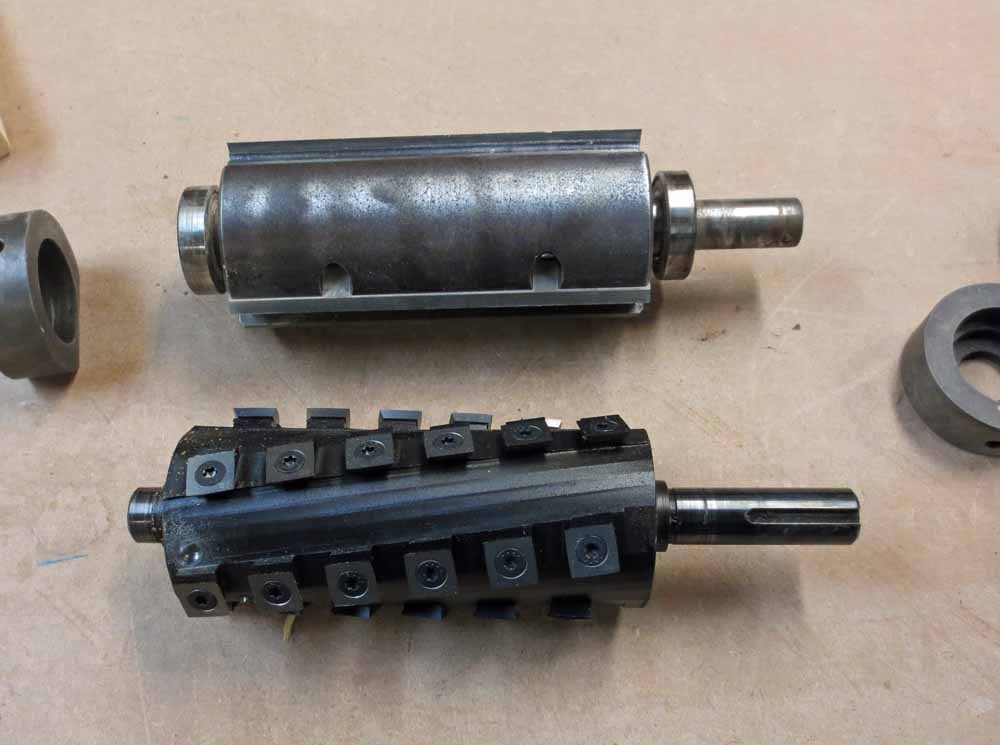
The cutter head pulley is removed from the cutter head shaft. The bearing caps are removed next. They sweetly slid off the bearings. Those bearings are replacements for the bearings that came with the jointer when I rescued it from an alley in Chicago. They are almost seven years old and will remain with the cutter head for the next owner. There is no need to keep this cutter head as a backup because there is no going back.
The Shelix cutter head in now compared to the original head to make sure the dimensions are the same.
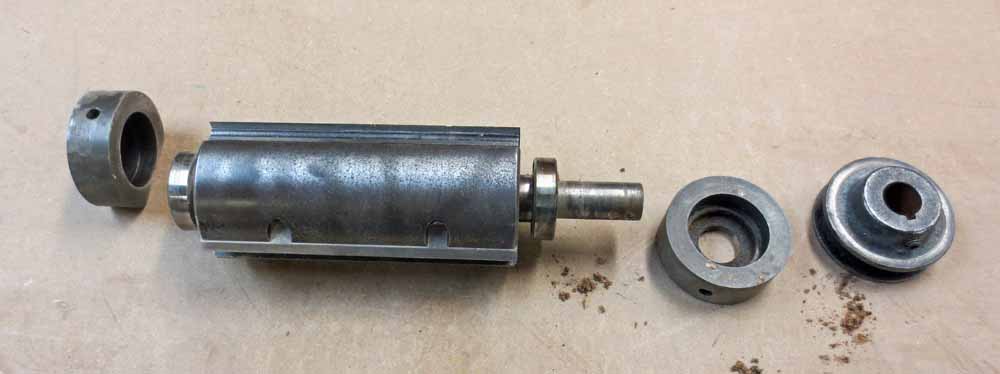
The bearings are brought out. They are Nachi bearings, R12ZZ, good stuff.
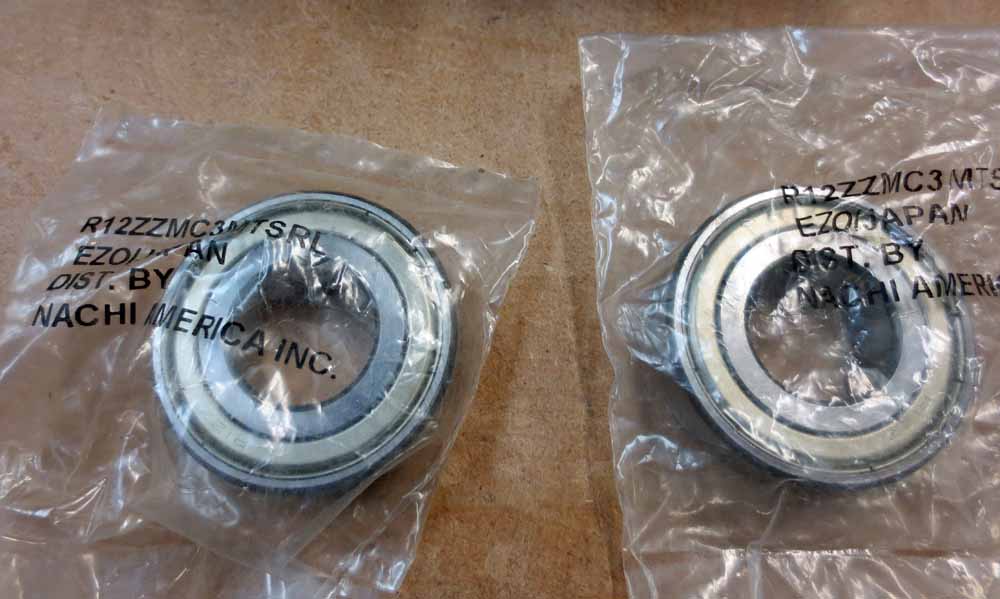
The bearings are pressed onto the cutter head shaft. They seat nicely. I love a new ball bearing.
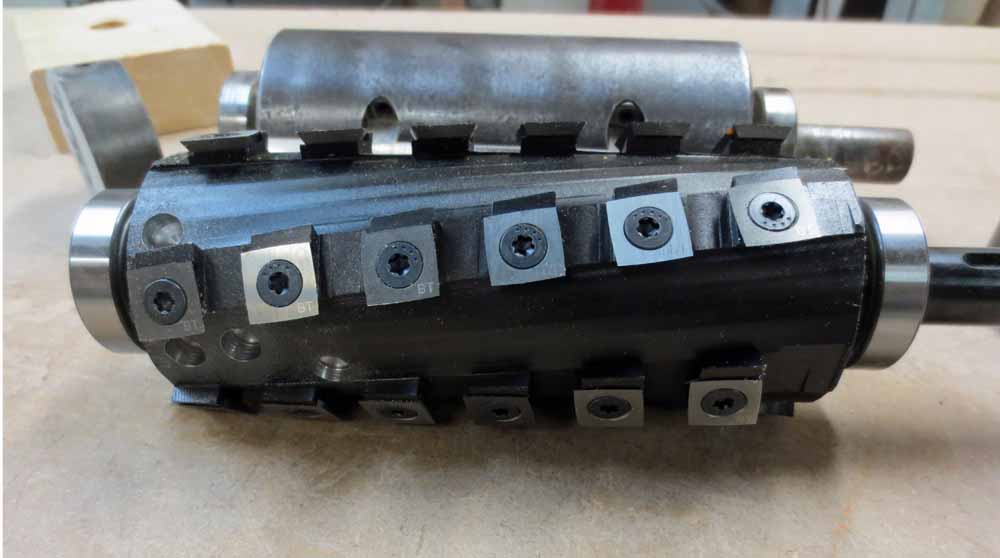
The bearing caps are placed on the bearings and the pulley is installed on the shaft. This is one, sharp, hard to handle, nasty chunk of steel and carbide. I managed to get it seated into the casting without medical incident. The bearing block bolts are installed and tightened. The cutter head is checked for parallel with the rear table. It was perfect. Had it not been parallel shim stock would have had to been placed between the casting and the bearing block to bring the cutter head into parallel with the rear table.
The rear table is cranked up until it is level with the cutting diameter of the cutter head. A jointed piece of wood will get you very close to perfect. You can achieve perfect level with a dial indicator.
The front table is cranked up to the desired depth of cut. Again, a jointed board works to get you close to that depth.

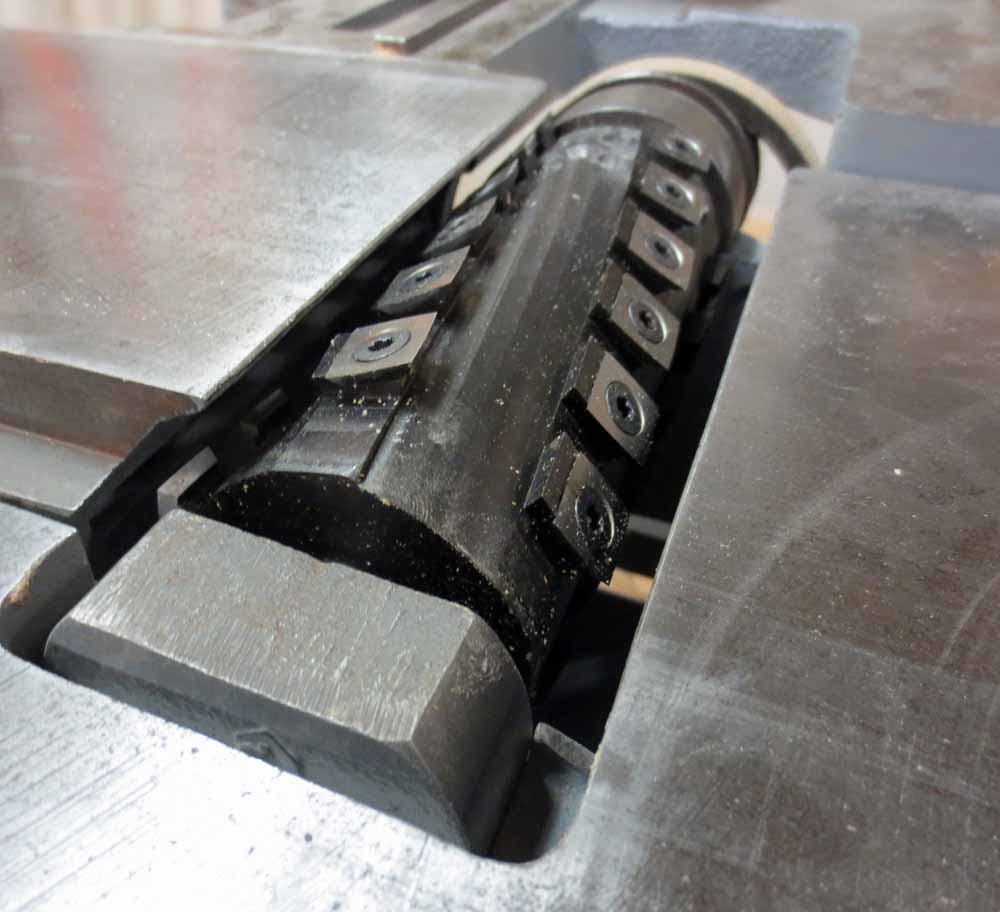
The spacer blocks are removed and the jointer is bolted to the stand. The fence assembly is re-attached.

The guard is installed and the jointer is ready for a test cut.
Comments
Post new comment